How to uninstall WSL Linux instance in Windows 11
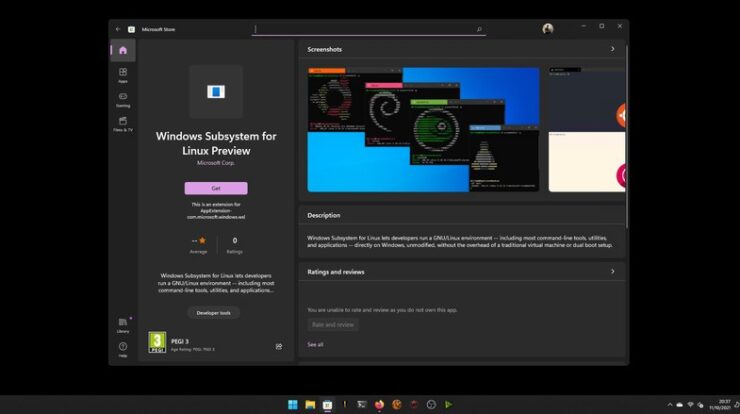
The Windows 11 operating system retained the Windows Subsystem for Linux (WSL), a feature that allows users to install a Linux operating system within the Windows OS. Not just the feature has been retained, but Microsoft is actively improving it and has also launched a new version.
If you have installed a Linux distro on your Windows computer using the WSL feature but you no longer need it, or if it’s what you expected and want to remove it, then you can easily do so.
While there are many different ways to remove the Linux instance installed on your Windows 11 computer, in this guide, we will show you how you can easily remove the Linux distro through the Setting app.
How to uninstall WSL Linux instance in Windows 11
Step 1: Open the Settings app on your Windows 11 computer.
Step 2: In the Settings application, click on the “Apps” option.
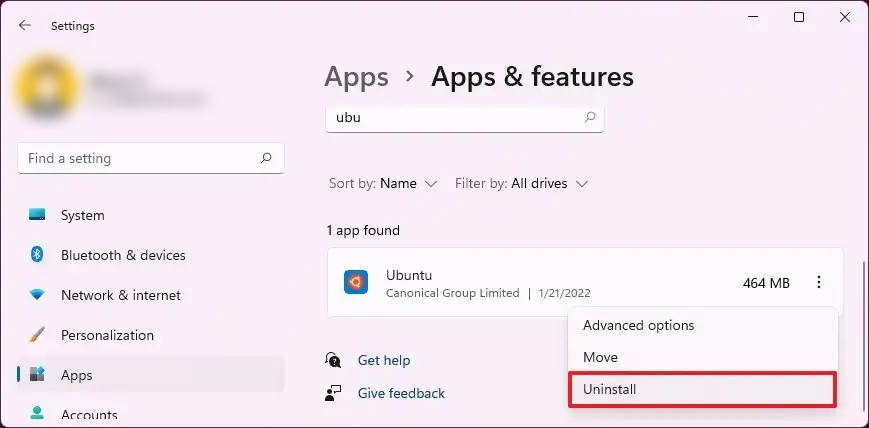
Step 3: After that, click on the “Apps & features” option from the right side of the window.
Step 4: Select the Linux distro and open the menu by clicking the three-dotted button.
Step 5: From the drop-down menu, select the “Uninstall” option.
That’s it. Once you have completed all the above-mentioned steps, the Linux distro or instance will be removed from your Windows 11 computer that was installed through Windows Subsystem for Linux (WSL) and will no longer be available for usage on your device.